Did you know that on average 68 percent of U.S. consumers visit home improvement store websites? In fact, home improvement retail is one of the largest retail sectors in the nation. One of the most popular home projects is revamping the floor.
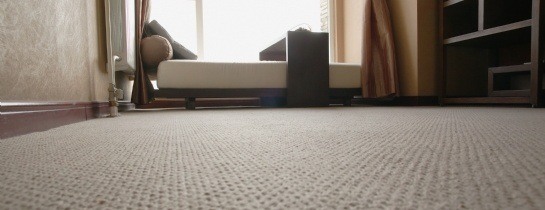
When's the last time you looked at your flooring? Our carpets, hardwood, tiles, and laminates are some of the most heavily trafficked materials in the whole house. When it comes to replacing the carpet, how can you install it from wall to wall with success?
Step 1: Prep
The first step in replacing or installing carpet is to determine the area of the room. You'll want to measure the longest walls. Then, multiple the length and width, and divide by 9 to determine the total square yardage. It's a good idea to add 10 percent to the square yardage to account for errors, irregularities, and pattern matching.
Next, you'll need to prep the area. It's important to clean to the subfloor, making sure the surface is both clean and smooth. Scraping up any paint or join compound is recommended. You'll also want to thoroughly sweep and vacuum prior to installation.
Before starting a wall-to-wall carpet project, clear any and all obstacles out of the way. If possible, take down any doors so that you don't have to work around them. Removing the doors makes it much easier to run the carpet and cut it where necessary for the bottoms of the doorjambs.
Step2: Installation the Tackless Strips and Carpet Padding
The first thing you'll tackle when installing carpet is installation of the tackless strips. The strips are sold in a variety of sizes that vary in width, thickness, and height. Be sure to purchase the correct size. It's okay to buy slightly bigger as you can always cut the strips down to size with a pair of heavy snips or a strip cutter. Keep in mind that installing strips on a concrete subfloor will require a little extra effort. Masonry tacks and epoxy adhesive are a must for holding the strips in place.
Once the strips are cut to size, it's time to nail or adhere them approximately 1/2-inch from the wall. Refrain from fitting them across a doorway or a threshold, as the tacks on the strips are sharp and could easily poke through the carpet.
Once the tackless strips are in place, you're ready to install the carpet pad. The pad should be laid perpendicular to the direction in which you plan to run the carpet. Staple it in place near the tackless strips with a staple hammer. Any seams should also be secured with alternating staples. Don't be afraid to stretch the padding so that the pieces are butted together tightly.
After the padding is secured, it's time to trim the pad. Feel through the padding to locate the tackless strips. You can use a utility knife to cut the padding away along the interior edge of the strip. The tacks will be exposed when you're finished.
Step 3: Install the Carpet
Once you've completed the first two steps, you're ready to install the carpet. Before laying it, it's recommended that you notch the corners for trimming. You can accomplish this in multiple ways, but the easiest process is as follows:
- Measure the room at its longest point. Add 3-inches to the measurement.
- Take the carpet outside where you have plenty of open space. Have a partner on standby to help you handle it, especially if you're about to carpet a large area.
- Notch the back on both sides at the appropriate length.
- Roll the carpet with the back facing out until your notches appear. Then, draw a line using chalk from notch to notch.
- Cut the back of the carpet along the chalk line.
- Finally, roll the carpet back up and take it inside
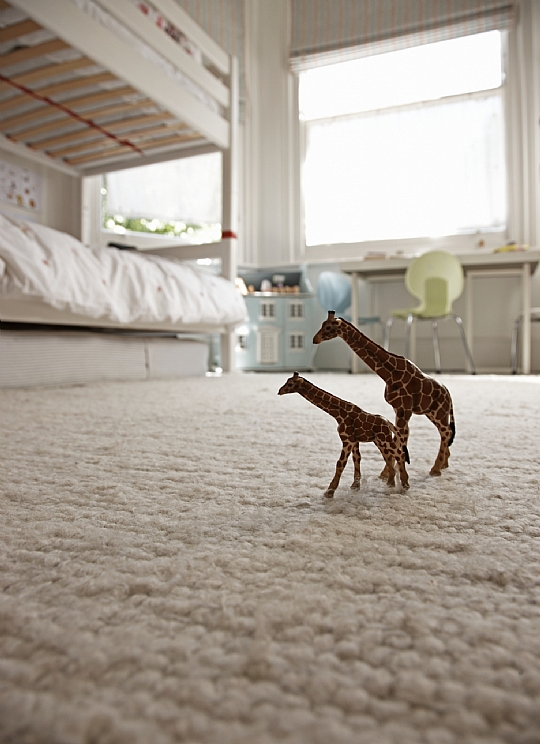
Now you're ready to roll it out in the room it's meant for. Keep it as straight as possible. A second pair of hands will be a great help during this process. Cut away any excess carpet, but leave approximately 3-inches extra against the walls.
Seams in between carpet pieces will need to be carefully glued together. As you lay the carpet, try to place the seams parallel to the room's main light source. The pile of all pieces should lean in the same direction for a "seamless" look.
Obstacle to Keep In Mind
You'll have to trim around obstacles when finishing the carpet installation. Be careful not to trim too much, otherwise you could wreck your fresh wall-to-wall carpet.
Carpet installation is a great home improvement project. You'll probably have questions unique to your venture. Swing by our Ask the Pros area. You can add your home improvement questions to the discussion and receive expert answers from home professionals. You can even search through already posted questions that might apply to your project.
Posted by: TrustedProsSuggested Reading For You

Top 10 Carpet Care Myths
New carpet is a major investment for any new construction or existing home. Most homeowners have several misco...
Carpeting Options and DIY Installation Tips
Deciding what type flooring to install is a task many homeowners face when completing a home renovation or new...