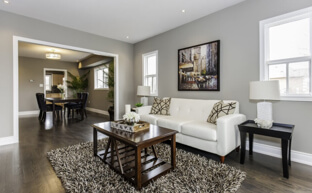
Paint is a simple way to make a lasting change in your home. Redecorating and painting after completing a renovation are good DIY projects that deliver great value. But the finished product depends on one vital step that many just rush through. Consider the importance of paint prep work and find out which steps can't be missed.
1) Spend the Time
Preparation for interior paint jobs is a lengthy project, sometimes taking even more time that it does to actual paint. Schedule yourself enough time to do a quality job and you can look forward to a smoother, more durable finish. Although skipping the prep work may be tempting, it will only create more work for you later on fixing the issues you're left with.
2) Moving Time
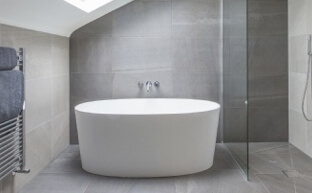
Removing items from the room is essential and leaves you more space to get around. It also helps to protect those items from splashes and splatters. You can actually make the job go much faster by removing the toilet when painting your bathroom. Everything you can move from the room will help to create a better work space.
3) Covering Time
After you've moved what you could it's time to cover up the rest. Get yourself some canvas drop cloths for the floor - the ones with butyl backing are slip resistant - and light poly for heavy furniture and other items in the home. Old bed sheets work well and even garbage bags cut open will serve if needed.
4) Turn Your Attention to the Wall
Now that the room is cleared out and protected, remove and cover the different elements of the wall. Take off outlet covers, shelving and drapery fixtures, taping the screws to the item for simple replacement. If a fixture can't be moved, such as trim, molding and some parts of your heating system, get out the masking tape or painter's tape and cover them well.
5) Fix Up the Wall
You'll need to take the time to fix your drywall, creating a smooth and solid surface for the paint. Using a patch repair package or some drywall mud you can attack those scratches, holes and dents by filling and sanding them.
6) Caulking Inspection
Now is the time to inspect the caulking around your windows and door. This important sealer will create a more efficient atmosphere in your home, but it will disintegrate over time. Don't simply paint over old caulking - perform a thorough inspection and replace the caulking if necessary.
7) Surface Cleaning
Before applying new paint you need to perform a surface cleaning on the wall in order to remove dirt, grime, oil and dust, among other things. Even if the wall looks clean a thorough wipe down will remove any lasting stains, invisible build up and substances that will potentially mar the surface. Stubborn staining can be removed by using trisodium phosphate.
8) Stirring the Pot (or Can)
Having your can shaken professionally is the best option, but if the paint isn't used right away you'll need to give it a good stir again. This is to make sure the pigment in the mixture is evenly distributed. You'll also need to have clean trays, brushes, rollers and covers.
After you've completed this prep work your painting project will go much smoother. Remember that none of these steps can be missed if you are looking for a quality job. Now get to work on these essential paint preparation steps.
Posted by: dianaSuggested Reading For You

Painting Like a Professional; Painting Professional Tips and Techniques
Painting like a professional is possible, even for novice beginners. As long as DIY painting project ideas...
Paint or Stain the Exterior of Your Home
For the protection of the exterior of your wood-clad home there are basically two options that homeowners and ...